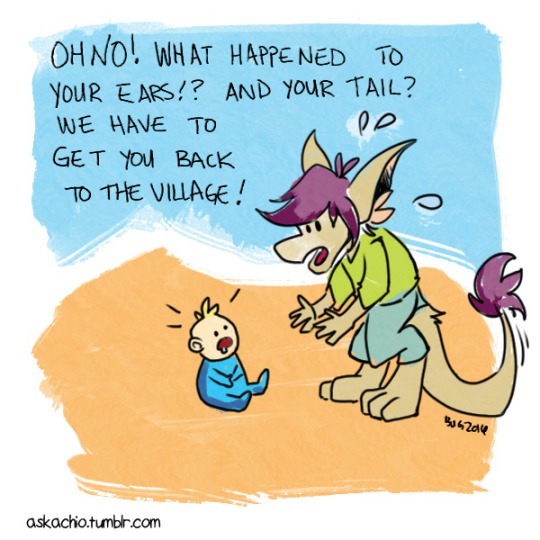
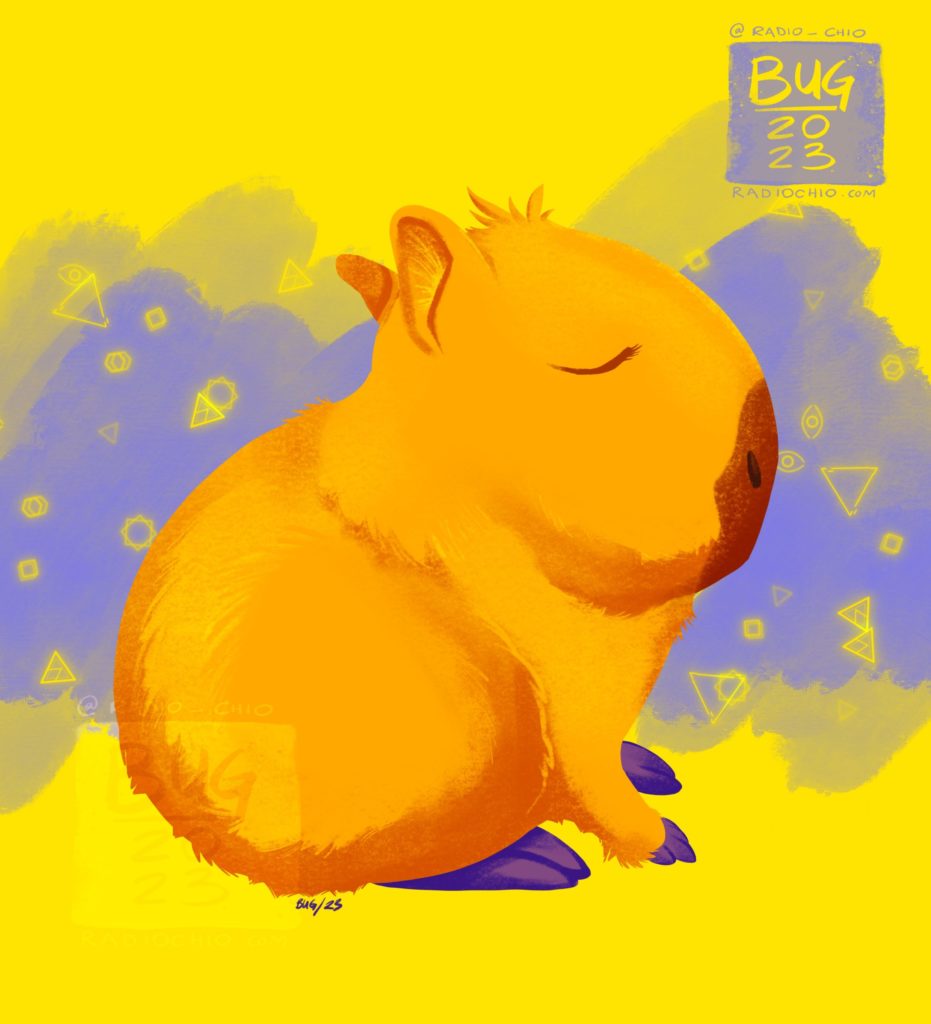
They’d probably recognize it as some kind of young “something” that needed help, at the very least. They would probably also be very confused!
I’m playing with the idea of resurrecting Ask a Chio in the Discord, or via the Chio Club, but haven’t fully come up with a plan yet. How would you like to see Ask a Chio return? Leave a comment or join us on Discord!
Hey Chio Crew! Happy summer! (Unless you’re on the other side of the world, then I’m sorry, and I hope the weather is treating you well.) It’s been a minute since I’ve sent a newsletter, so it seems like as good a time as any to do that now. So here we are!
What’s Up?
Things have been quiet around here, but that doesn’t mean I haven’t been busy. I’ve been working my way through getting Follower updates caught up, which has been a lot easier because I’ve been having more success with pain control. Finally! I’m feeling optimistic about it for once, and hope I can keep it up. There may be some hiccups, but as usual, I’ll post about ’em on social media or the Follower site itself.
What’s New?
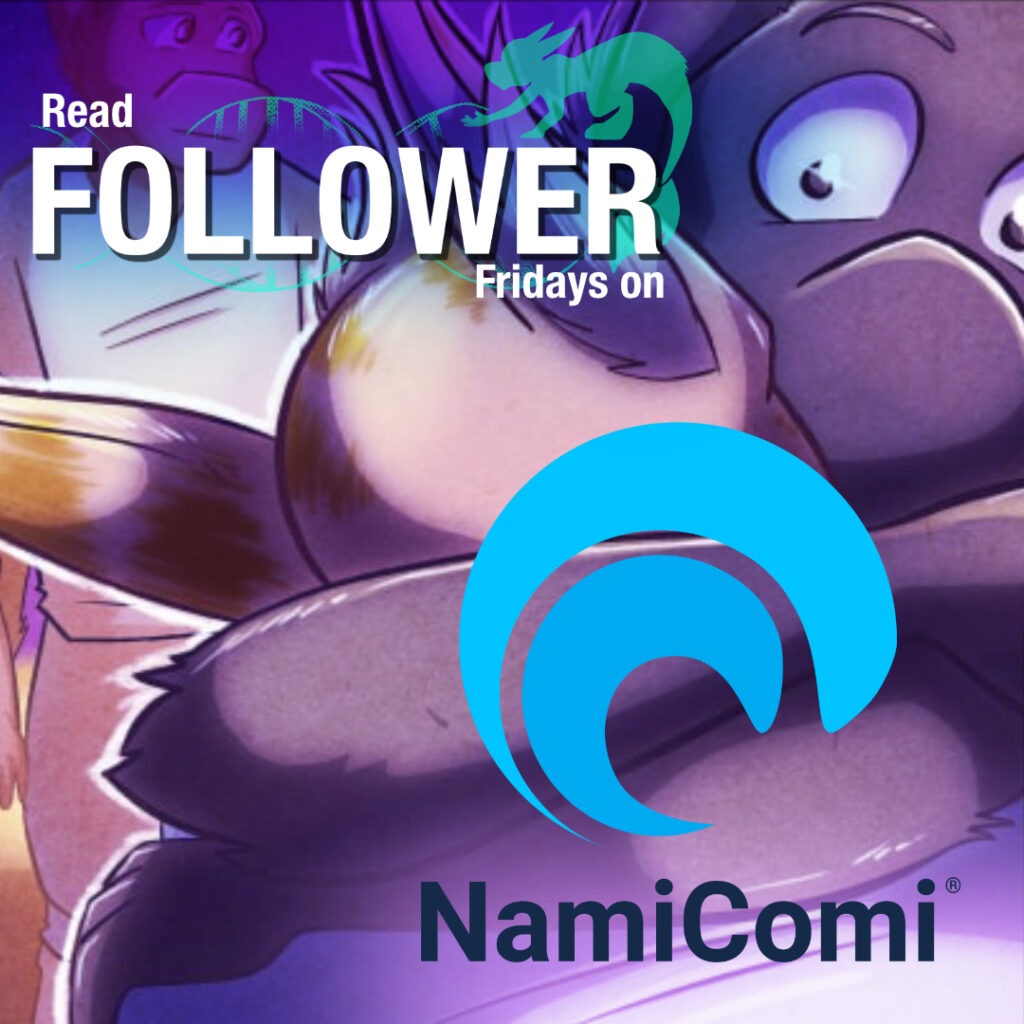
Follower is now available on NamiComi! NamiComi is a new comics platform that’s heavily focused on creators and is in an open beta. So far it’s been a nice experience posting there, though I haven’t found many readers yet! A new complete Follower chapter is going up every Friday until we’ve caught up with the main site, so give it a look!
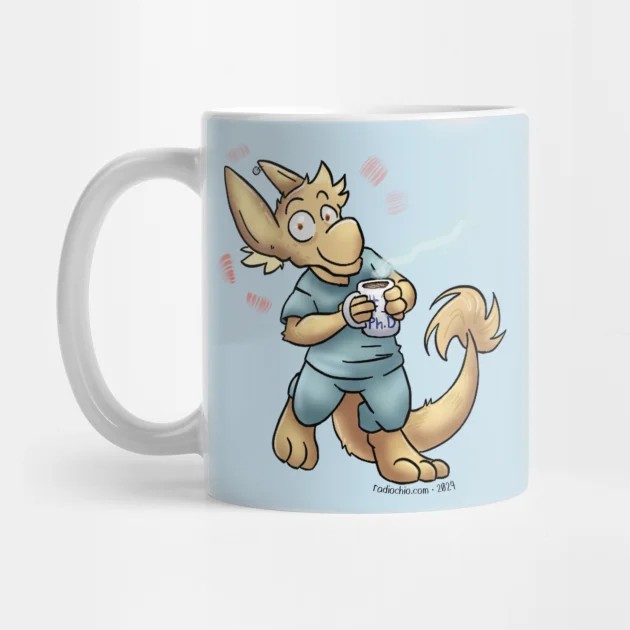
I’ve added a new design to the Teepublic shop which is extra great on mugs: Caffeinated Dia! Probably the last creature on earth who should have coffee, but with a Dia mug, you, too, can be unstoppable.
Additionally, I’ve been uploading art to my Inprnt shop, which I regularly forget I have. If there’s a piece of art I’ve made that you’d like to see available as a print or sticker, let me know and I can add it! The options are a bit sparse at the moment, but I’ve been sorting through my files for anything that seems print-worthy. Best of all, Inprnt is currently running a summer sale, so everything is cheaper than usual.
Next up? More Follower updates! I’m also trying to plan something for Messenger this August since the comic is turning 20 years old and has been in hiatus forever. My bones just crumbled to dust. I can’t believe it. I started the comic when I was a teenager and I thought I’d be done by now. How life throws us curves, eh?
When I can’t draw, I’m trying to get the new Follower website I’ve been working on for ages…worked on. Sometimes it’s easier to type than draw depending on my pain level that day, and that’s at least something I can do.
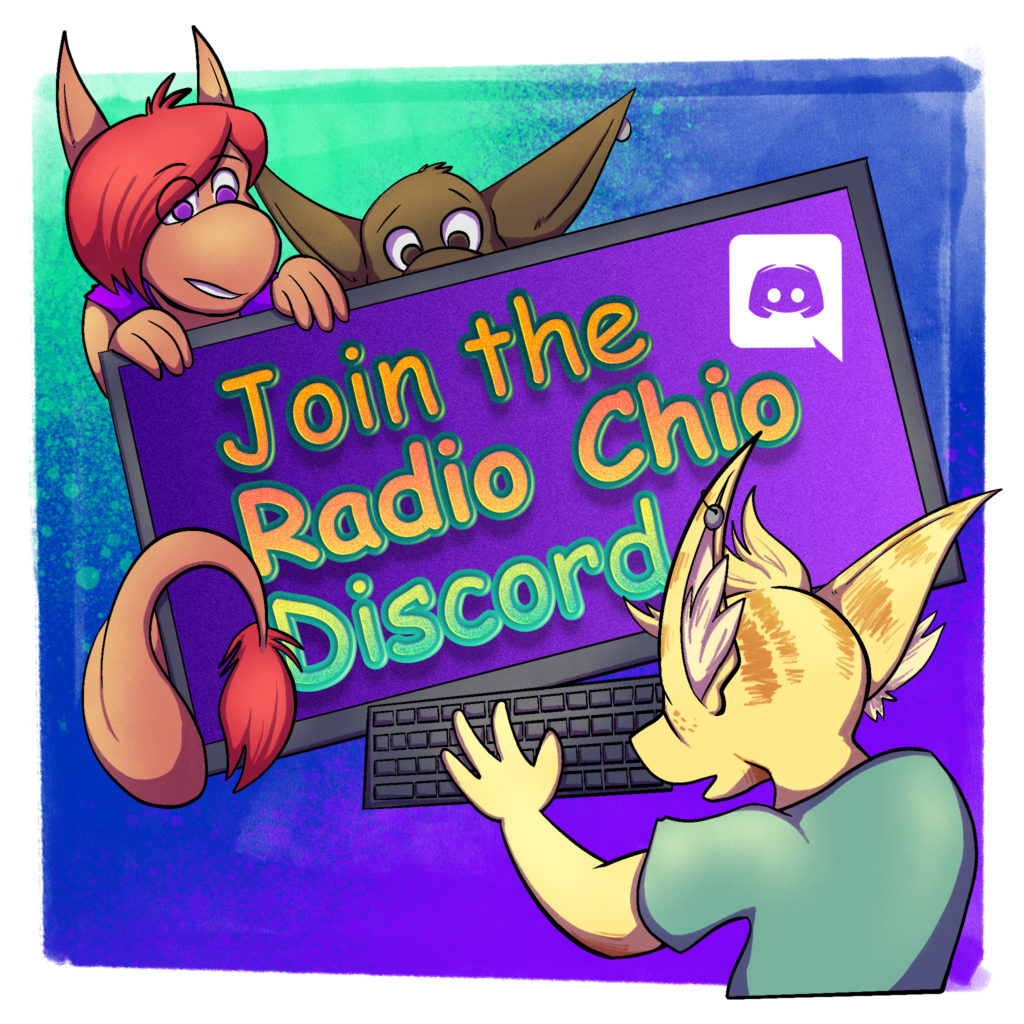
Discord members currently have access to the new site-in-development, so come join in if you’d like to take a peek at it and see if you spot any bugs. Everyone is welcome!
Community News
As mentioned above, Discord members currently have access to check out the new Follower website. I’m also hoping to recruit some volunteers to help me add transcripts for each page if there’s interest. I’m thinking of some kind of system where a certain number of transcriptions equals a free sketch from me or some such thing. In any case, you can come and express your interest in the chat!
Thanks For Reading!
Thanks so much for taking time out of your day to see what we’ve been up to!
I had the opportunity recently to try out an Apple Pencil alternative from SPGUARD.
Full disclosure: I received the product for free in exchange for making a video about it. If you buy one through my TikTok shop link, I receive a commission. I was not asked to make a positive review or to make any specific statements about the product; this is all based on my experience and opinion.
I’ve seen folks posting about alternative styluses (styli?) for use with the iPad for some time, since the official Apple Pencil can be pretty expensive, and even some of the big brand name alternatives like the Logitech Crayon are also kind of pricey. Since I’ve really only used the Apple Pencil with my iPad (aside from a non-smart stylus on my ancient gen 2 iPad years ago for sketching only) I was curious about how well these kinds of devices work. It would be great if there were cheaper alternatives out there that work decently well. I get most of my art tools on a budget; they’re either gifted to me by family, something I can afford because it’s usually student grade, or I grab it while it’s discounted, especially in the case of software. I know a lot of other artists work on a similar tight budget, so I jumped on the opportunity to give this cheap alternative a try and share the results with you all.
An important note before I get too far into this: this pencil only works with iPads from 2018 or newer. My personal iPad is from 2017, and it definitely doesn’t work with this. So just be careful before buying to make sure your device is one that will work! I had to borrow a newer iPad to do this review.
The SPGUARD Pencil charges with USB-C, so you’ll need a cable and a place to plug it in. It does have a magnetic strip to stick to newer iPads, but it doesn’t charge this way. It comes with a cable and of course, the Pencil itself. I opened it up and was surprised to find the battery at full charge, which was great because I didn’t have to do anything special to get going.
Does it do what it claims? Here’s my test.
What’s in the box?
Here’s the USB cable included with the device, along with the box it came in in the background, and the Pencil still in the inner packaging.
Upon opening the box, I found all the listed items along with an instruction sheet. The Pencil itself feels like a decent quality and weight; relatively solid and with a matte surface. It’s flat on one side to stick magnetically to the iPad, and this seems to work well. In all, it feels very similar to a genuine Apple Pencil.
Using the pencil is simple; just double tap on the “eraser” end of the pencil to turn it on or off. (There is no eraser function; I simply mean that in a descriptive way.) Indicator lights come on to show that the device is powered, and what the charge level is. This is handy and sort of a nice feature that the genuine Apple Pencil doesn’t have. I can’t tell how charged my Apple Pencil is without opening up my iPad and checking the battery widget. Here, I can tell how charged it is before I even get started. Nice!
Just double tap on the end of the Pencil until the indicator lights come on. Easy and convenient.
Does it work?
A small bit of magic happens here: aside from turning the Pencil on, you don’t have to pair it with Bluetooth or do any other kind of setup in software. It simply works as long as it’s turned on. I realize this is just a simple trick using the capacitative properties of the iPad screen, but it works surprisingly well.
I decided to put the pencil through its paces starting with Procreate, a pretty typical piece of art software used by a lot of artists. Procreate recognizes the Pencil without issue, although a caveat is revealed here; the Pencil has no pressure sensitivity, a major feature of official Apple devices. While that is lacking, the Pencil works smoothly and and produces a nice continuous line without “choppy” line breaks that can sometimes happen with digital styluses. I didn’t try it, but I imagine it would be possible to adjust some brushes in Procreate to taper at the start and end to create the illusion of pressure sensitivity. I suppose it depends on what you’re planning to do.
I doodled a simple drawing of a duck just to try and make something from start to finish with the device, and I found it perfectly fine for this purpose. I wasn’t necessarily able to do everything I’d do with my Apple Pencil, but if this is all I was left with, I feel like I’d still be able to create art, I’d just have to find some simple workarounds or alternate techniques for certain features, like line width.
Importantly, the palm rejection the device claims it has does work. I did have one moment where it glitched, but I think it was more due to how I was holding the pencil. Easily undone and fixed.
I also tried the Pencil out in Apple Notes, which seems more like what this device is really geared for; students taking notes, or folks who primarily work with text and simple drawings. It worked perfectly fine here for this purpose. It kept up with my handwriting, no lag that I could notice. It worked fine drawing the automatic shapes (i.e., draw a freehand circle and hold the pencil at the end of the line to generate a perfect circle) in Apple Notes, so that was a pleasant surprise, too.
My thoughts overall?
This is a perfectly usable (and cheap!) alternative to an Apple Pencil. It lacks quite a few of the features of the official device, but depending on what you’re willing to forego, it might be usable in your situation.
Who is this device for?
Students, people who take lots of notes, possibly beginner or intermediate artists just dipping their toes into digital art. It currently retails for about $16.99 (with discounts available) through the TikTok shop, and if you buy it through my affiliate link, I’ll get a small commission.(You may need the TikTok app to access it!)
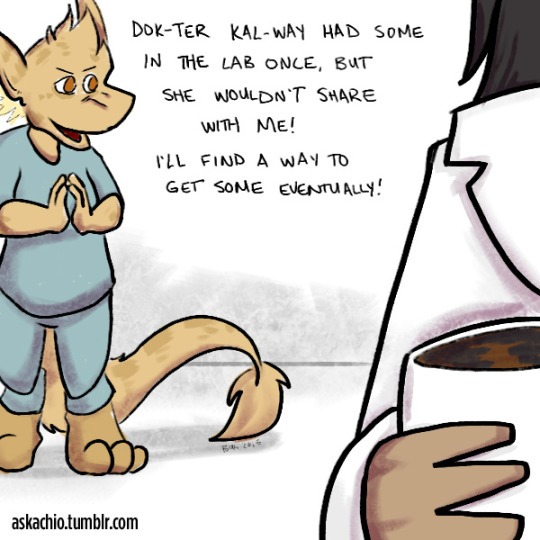
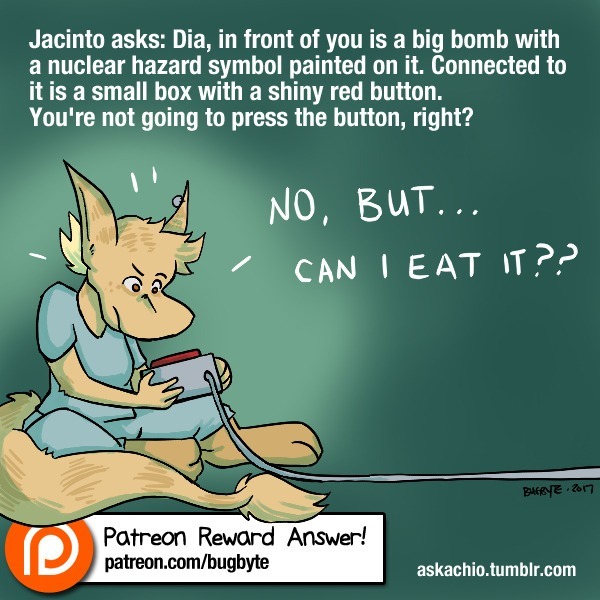
The only Chio (that we’ve met, anyway) who may have experienced coffee is probably Dia. Dia probably should not have coffee, whether it’s like or dislike.
If you’d like to help us keep making comics in other ways, subscribe to the comic on Tapas, or follow us on Youtube or TikTok! Sharing the comic with your friends is also a huge help to us – the best way of spreading webcomics around is usually word of mouth, and we’d very much appreciate it!
Jacinto asks: Dia, in front of you is a big bomb with a nuclear hazard symbol painted on it. Connected to it is a small box with a shiny red button. You’re not going to press the button, right?
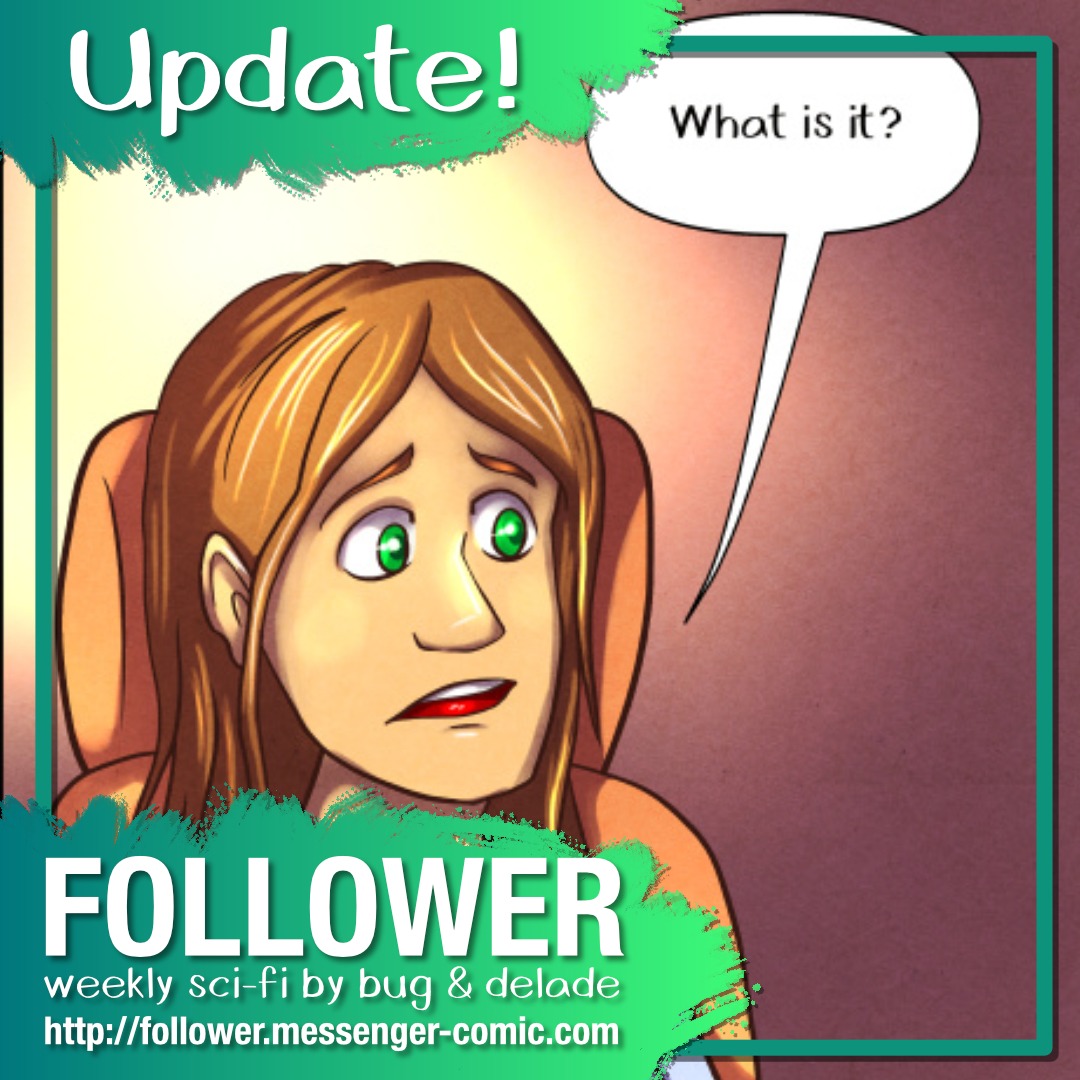
Despite the odds, I’ve made a bunch of progress on the next Follower page! Members of the Chio Club can check it out early on Patreon or Ko-Fi.
The next update on the main site should be next Wednesday, July 10.
In the meantime, you can catch up on the archive on one of our mirror sites. Subscribing to the comic there helps support it by increasing visibility and getting us closer to the potential of getting an ad revenue share!
💖 Get early pages and more when you join the Chio Club:http://chio.club
Right now, I’m working on making sure I can afford both web hosting for the year and my subscription to Clip Studio (both upcoming but very soon) and if you’ve ever wanted to join the Chio Club or just drop in a one-time Ko-Fi donation, this is a really excellent time for it as it will go directly to funding both of these things!
If you’d like to help us keep making comics in other ways, subscribe to the comic on Tapas, or follow us on Youtube or TikTok! Sharing the comic with your friends is also a huge help to us – the best way of spreading webcomics around is usually word of mouth, and we’d very much appreciate it!
So, it would appear I haven’t been able to get a newsletter together since….December 2023. Yikes. Well, let’s rectify that, shall we?
What’s New?
As usual, the delay on everything I’ve been working on is related to health issues. If you’re into the gritty details I’ve been blogging about it from time to time on my Tumblr. I had a flare up in my hands and wrists that was intensely painful for a while and has mostly subsided but it’s still easy to set off, so I’m still working more slowly than normal despite having about a thousand things I want to work on. It’s frustrating, emotionally and physically.
Thanks to folks contributing to my Ko-Fi, I was able to get my hands on a pair of compression gloves which should help me be better able to work through some of the painful days.
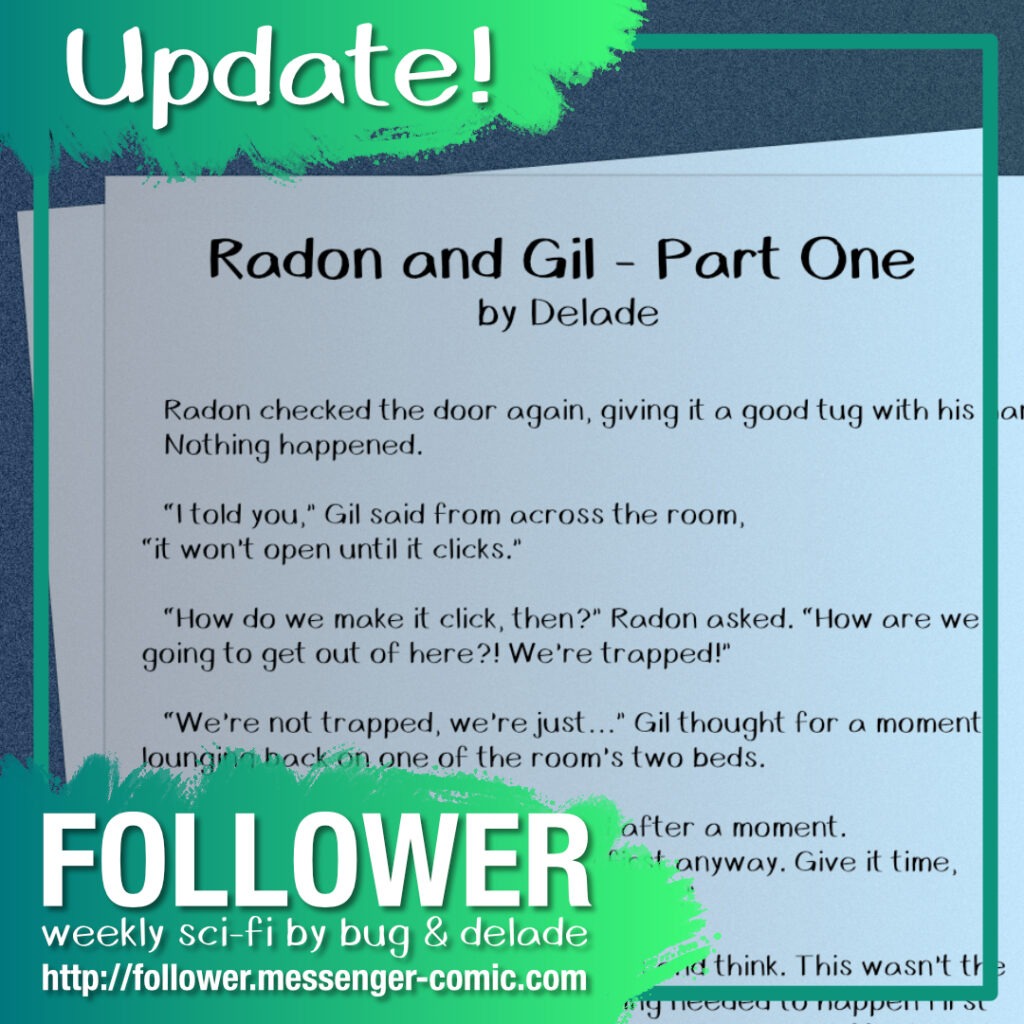
So, I’m still working on getting Follower going on a regular schedule again. It’s been really hard. To fill in some of the gap, Delade put together some new fiction for the website which I gave a little artistic rendering to.
In other news, I’ve been using some of my drawing-is-hard time to get Follower going on some additional mirror sites, including more updates on GlobalComix and (coming soon) NamiComi! GlobalComix has a really nice app, and I took the time to add interactive panel by panel clickthroughs, so I highly recommend it as a reading experience!
I’ve also been trying to work on other methods to help Follower and my comic projects become more self-supporting even when I have trouble drawing consistently due to health problems. There are several things you can do (for free!) that will help me be able to keep Follower going:
Subscribe to Follower on Tapas and Webtoon Canvas. If I can reach 100 subs on Tapas, I’ll be eligible for ad revenue sharing, which probably isn’t a lot, but every little bit helps out.
I’ve also been making more video content on both TikTok and Youtube. Following me in both of those places helps me become eligible for monetizing those platforms, too.
What’s Next?
The top of my agenda is getting Follower back to a reasonable amount of updates. It’s hard to get there struggling with my bad hands, but I’m making progress. We’ll get there, one bite at a time.
Community News
One of the new parts of the new Follower website I’m working on and considering opening to readers is the option to help transcribe pages for vision-impaired readers. For now, I’ve been doing the transcriptions myself, but there are hundreds of pages to go. I might open this up to the community as a volunteer project. If you’re at all interested in this sort of thing, please drop in on the Discord chat and let me know!
If there is community interest, I will open up a private channel just for transcribers, and probably create a special role for it.
Thanks for Reading!
Thanks for reading this incredibly late newsletter. Here’s hoping things can get a little easier from here on.
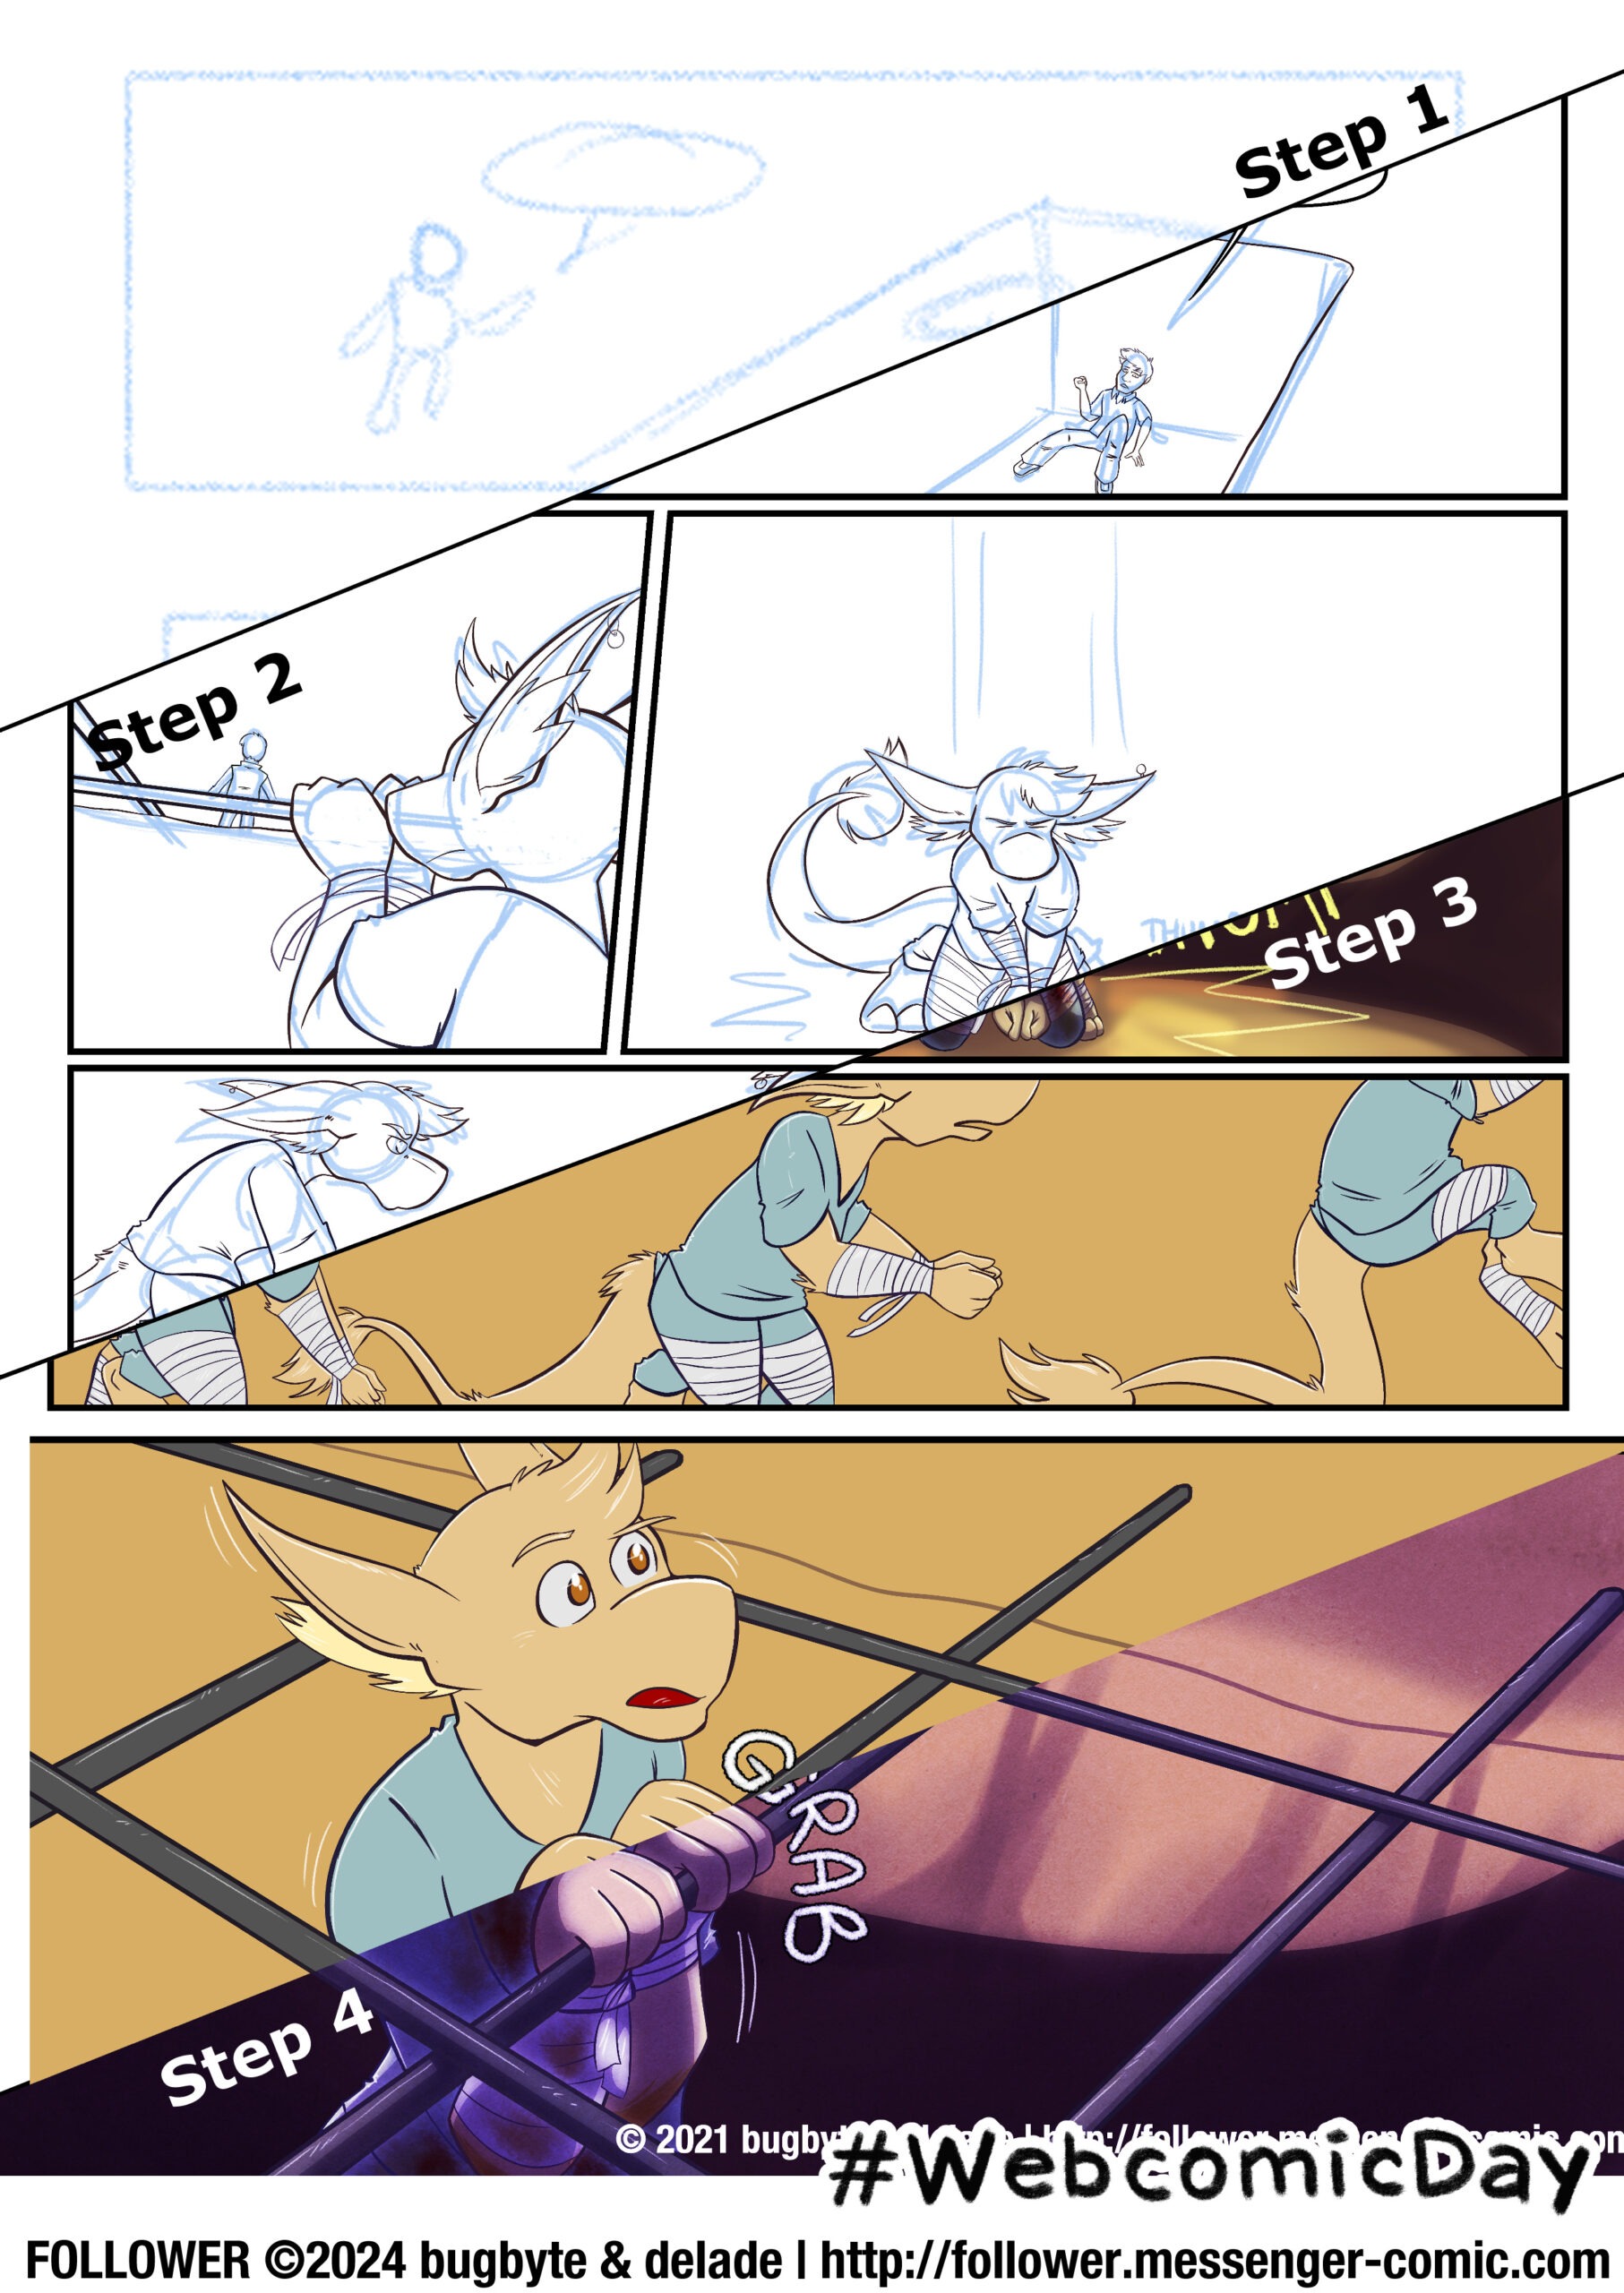
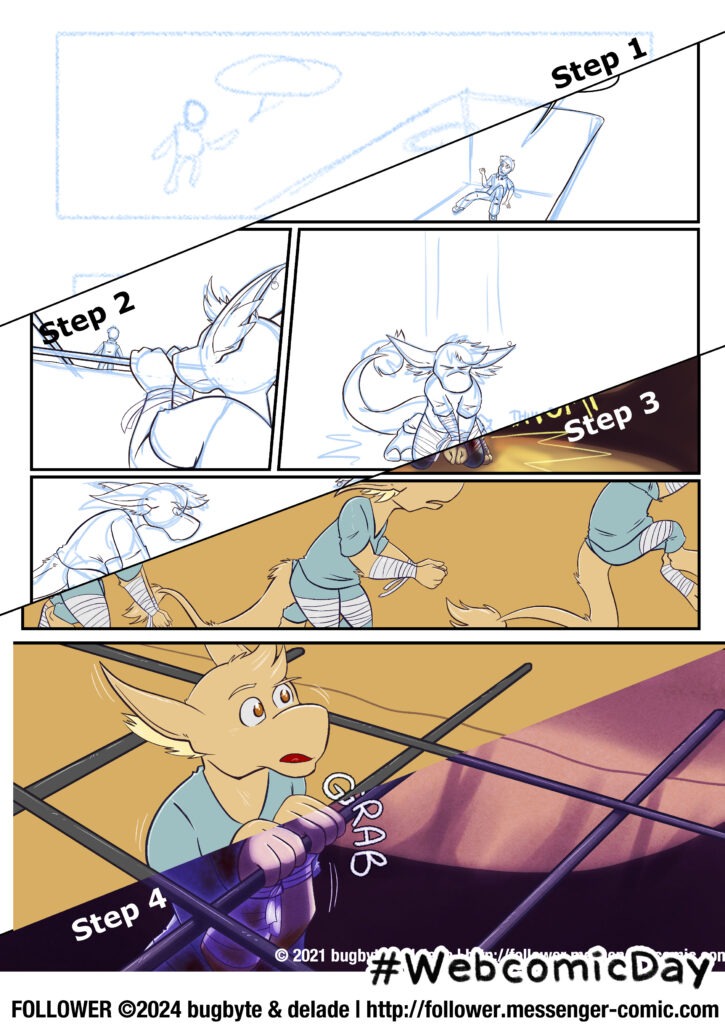
It’s #webcomicday, a day all about celebrating and promoting your favorite webcomics! As part of this year’s celebration, I’ve made a little image breaking down how I make a Follower page. I decided to use page 25 from chapter seven of Follower, because those are some of my favorite pages in the comic (at the moment.)
Let’s take a look at a little x-ray of the comic, shall we?
Breaking it down into steps, a page is made like this:
Step 1: Script and thumbnails
Delade and I spend a while working out ideas for the chapter. We discuss everything that’s happened so far, and everything that’s going to happen eventually, and where this chapter needs to fall in that timeline. Then we discuss the important bits about what’s going to happen: who’s the focus? Where is it taking place? What absolutely has to get in in order to support future parts of the story? It can get complicated! We hash it out and then Delade gets to work scripting. (Chio Club members can get access to full copies of some of our scripts, and I’m planning to release more in the future, if you want to see our process in more detail!) We plop the script into a program called Superscript, which is just for comic script writing. It makes everything into a nice format. Then I take this script and sketch little thumbnails alongside each page, to rough out what I think it’ll look like. The thumbnails are basically unreadable to anyone but me, but it gives me a better idea of what’s going to happen with the art. I also build in space in the design of each page for whatever text needs to fit. This is easy to forget, but can be a huge pain if you don’t do it. Delade and I discuss the thumbnails, and when we agree, it’s basically done. The last part of this process is coming up with a chapter title and cover image.
Step 2: Pencils and inks
In this step, I enlarge my thumbnails to fit the size of a page and then draw on top of them. Pencils are usually more detailed versions of the rough stuff in the thumbnails, but sometimes not much more detailed than that. I’m just refining what the actual characters are going to look like, capturing expressions and important details that have to be right. At this point I usually also drop in dialogue balloons, so no matter what there’ll be space for them. Then I move on to ink the outlines.
Step 3: Flat colors
In this step, I drop in the base colors for everything. Characters get their own layers, and backgrounds on another. I have a pallette built and saved for Follower that includes colors for just about everything that appears regularly so I can keep it all consistent. This part usually goes pretty quickly because I have everything set up to be efficient; without having my standardized color pallette at hand, and my CSP fill bucket set up the way I want, it would take forever and be really tedious.
Step 4: Final shading & details
The last step! I apply several layers of shading and lighting depending on the environment. I use a lot of textured brushes here because I feel like it adds a little more depth and tangibility to the backgrounds. I give the ink outlines some subtle color; they look black, but they’re usually actually a very dark purplish or bluish color, or similar, whatever fits the scene. I used to color all of the outlines individually, but this took forever, and I don’t necessarily think it looked better. At this point I also add in a layer on top of everything with a paper texture. I didn’t always do this, but after some experimentation a couple of chapters in, I decided I liked the feel it gave the pages. Everything in this world is a little bit gritty, and it accentuates that a bit.
You can also support Follower and get early access to work in progress, sample scripts with commentary and thumbnails, and more, when you join the Chio Club via Patreon or Ko-Fi for just $1 per month or more.
I’m a physically disabled artist with a lot of medical issues, and the Chio Club helps keep me properly cared for as well as helping keep the lights on around here, so we’re endlessly grateful for all our supporters.
You can find out about all the available reward tiers and more on the Chio Club website: http://chio.club